Box springs are the unsung heroes of comfortable bedding. They provide stability, improve mattress longevity, and elevate the overall look of your bed. But did you know that you can build your box spring at home? If you’re a DIY enthusiast or love putting personal touches on home decor, crafting your box spring can be a satisfying project combining creativity and functionality. This guide will walk you through how to build a box spring step by step.
We’ll cover everything from the tools and materials you need to customization options to make your box spring uniquely yours. Whether you’re a seasoned furniture maker or dipping your toe into DIY for the first time, this blog post has covered you!
To find The Best Box Springs, Click Here.
What Is a Box Spring and Why Do You Need One?
Before building, let’s understand what a box spring is and its importance.
A box spring is a sturdy base designed to support your mattress. It acts as a buffer between the bed frame and the mattress, providing better weight distribution and absorbing shock. It can:
- Extend mattress life by reducing stress on coils and foam.
- Improve sleep quality, as mentioned by sleep expert Dr James Carter, who advises, “A box spring ensures proper support, which can make all the difference in your rest and spinal alignment.”
- Enhance bedroom aesthetics by adding height and creating a polished look.
Now that you’re sold on the value of a box spring, why not build one tailored to your needs?
Tools and Materials You’ll Need
Before getting started, gather all the essential tools and supplies. Having everything at your fingertips will make the process smoother and more enjoyable.
Tools:
- Tape measure
- Circular saw or hand
- Power drill and screws
- Hammer and nails
- Staple gun
- Wood glue
Materials:
- Wooden planks (pine or poplar works great)
- Plywood sheet
- Wooden slats
- Upholstery fabric or dust cover
- Foam padding (optional for added comfort)
- Sandpaper
- Wood stain, paint, or varnish (optional)
Pro Tip:
As a DIY furniture expert, Ana White says, “Always invest in quality materials for a DIY project. It’ll ensure durability and make your hard work stand the test of time.”
Step-by-Step Guide to Building Your Box Spring
Follow these steps to bring your custom box spring to life.
Step 1: Measure and Plan
Start by measuring your mattress to ensure your box spring fits perfectly. A standard box spring dimensions guide can help:
- Twin: 38” x 75”
- Queen: 60” x 80”
- King: 76” x 80”
Plan the dimensions of the frame, keeping some allowance for upholstery.
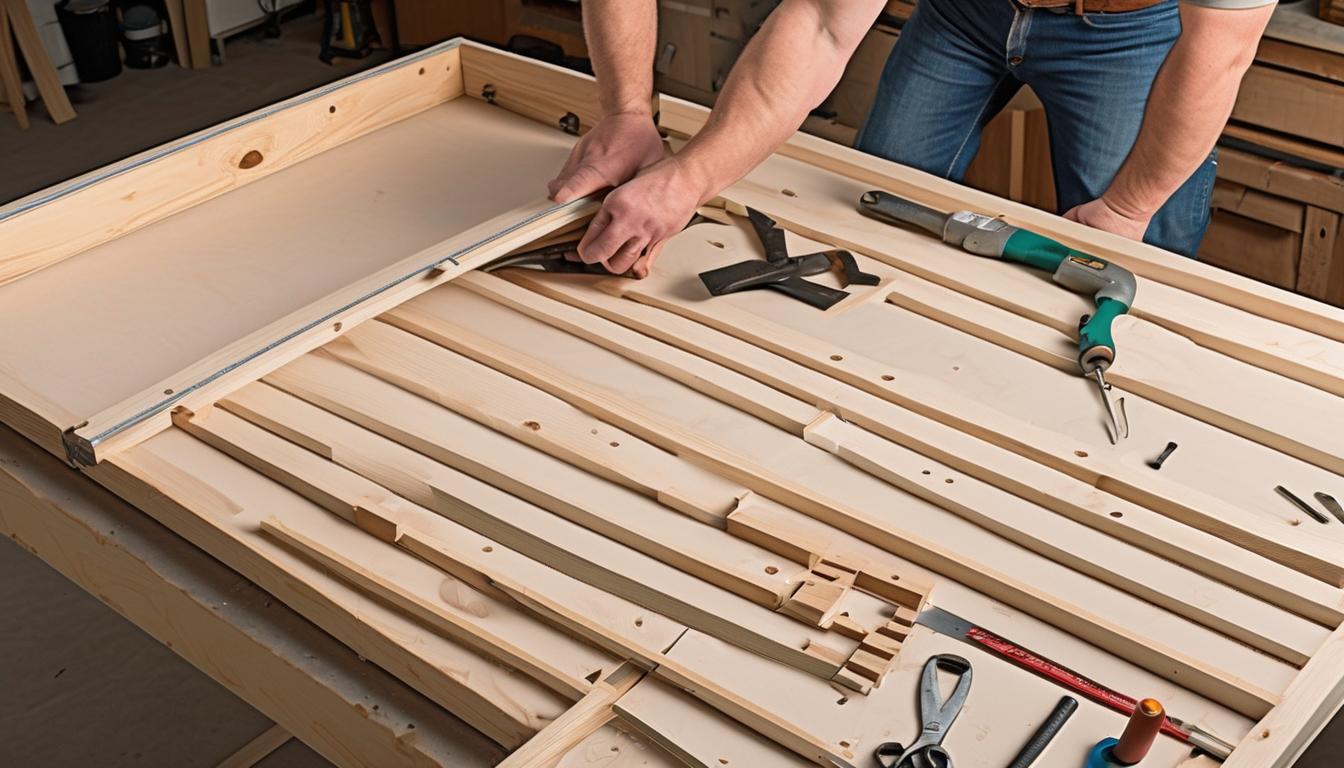
Step 2: Cut Your Wooden Planks
Using a saw, cut your wooden planks to size based on your measurements:
- Two longer pieces for the side frames.
- Two shorter pieces for the top and bottom edges.
Sand the edges to avoid splinters.
Step 3: Assemble the Frame
Using screws or nails, attach the planks to form a rectangular frame. For extra sturdiness, apply wood glue before fastening.
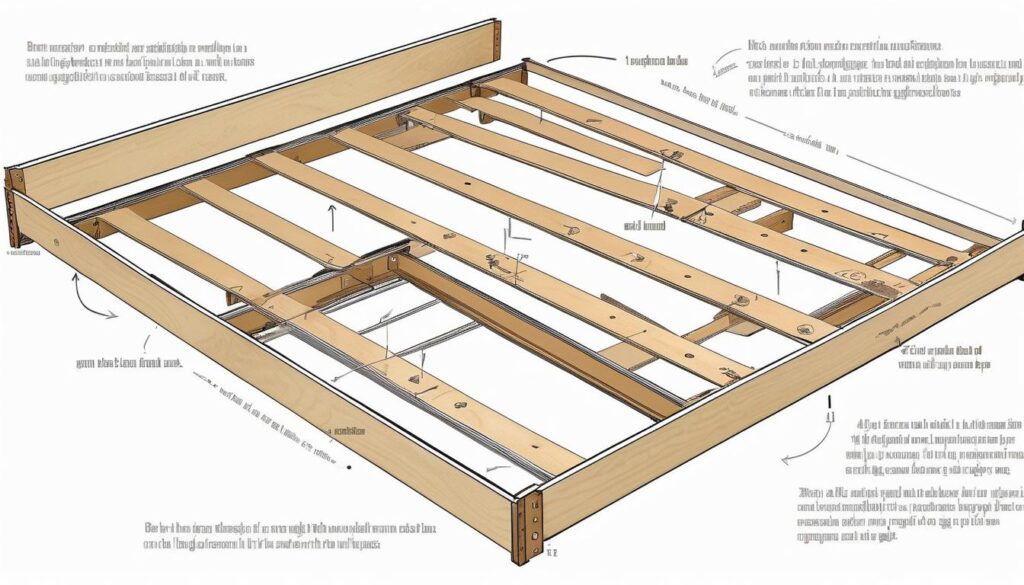
Step 4: Add the Slats
Attach evenly spaced slats inside the frame to create support, leaving 3–4 inches between each slat. This will evenly distribute the mattress’s weight and minimize sagging.
Step 5: Attach the Plywood Base
Top the slats with a sheet of plywood to provide a flat surface for your mattress. Secure it to the frame using screws at each corner.
Step 6 (Optional): Add Foam Padding
If you want a cushioned aesthetic, lay foam padding over the plywood. This will give the box spring an upholstered look.
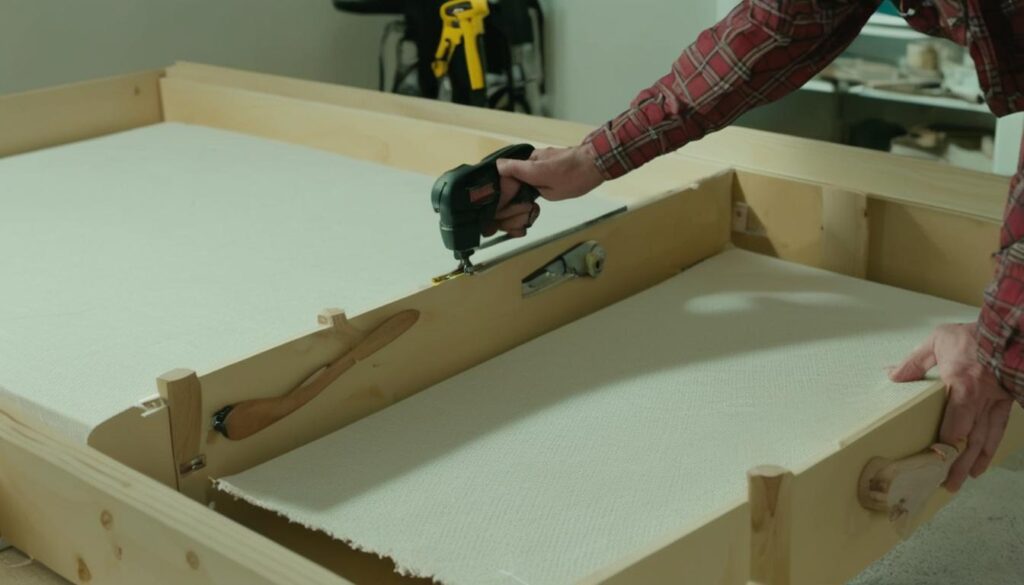
Step 7: Cover with Fabric
Wrap the entire frame in durable upholstery fabric or a dust cover. Use a staple gun to secure it tightly along the edges. This adds polish and protects the wood from wear.
Adding Support and Stability
For maximum durability, pay attention to stability:
- Reinforce the corners with metal brackets.
- Use high-quality wood screws, not nails, for secure connections.
- Check the straightness of every corner with a carpenter’s square.
Shara from Woodshop Diaries echoes this sentiment: “Precision and safety are key in any DIY project. Measure twice, cut once, and double-check your joints.”
Personalized Touches for Your Box Spring
Why settle for a plain box spring when you can make it a design statement? Here are some customization ideas:
- Colour and Finish
Paint or stain the wood to match your bedroom’s aesthetic. A dark walnut finish adds warmth, while a pop of bold colour can create a fun, modern look.
- Fabric Choices
Upholster the box spring in a fabric that complements your bedding or room decor. Think neutral linen for elegance or patterned fabric for a playful vibe.
- Storage Integration
Add a drawer or two on either side for extra under-bed storage. It’s functional and clever.
Interior decorator Jane Miller adds, “Even a small detail, like fabric texture, can completely transform your bedroom’s mood. Personalizing a box spring creates harmony with your overall decor.”
Safety Tips for a Flawless Project
DIYing involves some risk, so keep these safety measures in mind:
- Always wear safety goggles while cutting wood or drilling.
- Use clamps to hold pieces steady as you work.
- Sand all exposed edges to prevent injuries.
Common Mistakes to Avoid
- Skipping measurements—Always double-check before cutting.
- Using weak materials—Avoid flimsy wood that can’t support the weight of your mattress.
- Rushing assembly—Give glue and finishes enough time for them to dry properly.
Reap the Rewards of a DIY Box Spring
There’s something incredibly satisfying about building your furniture. Following this guide, you’ve created a sturdy, custom box spring and added your unique touch to your bedroom.
Furniture maker Tom Reynolds says it best, “Custom-made pieces carry a soul. They’re not just furniture; they’re stories built with care.”


Leave a Reply